A few years ago I made a clock from some really cheap clock movements and it was OK
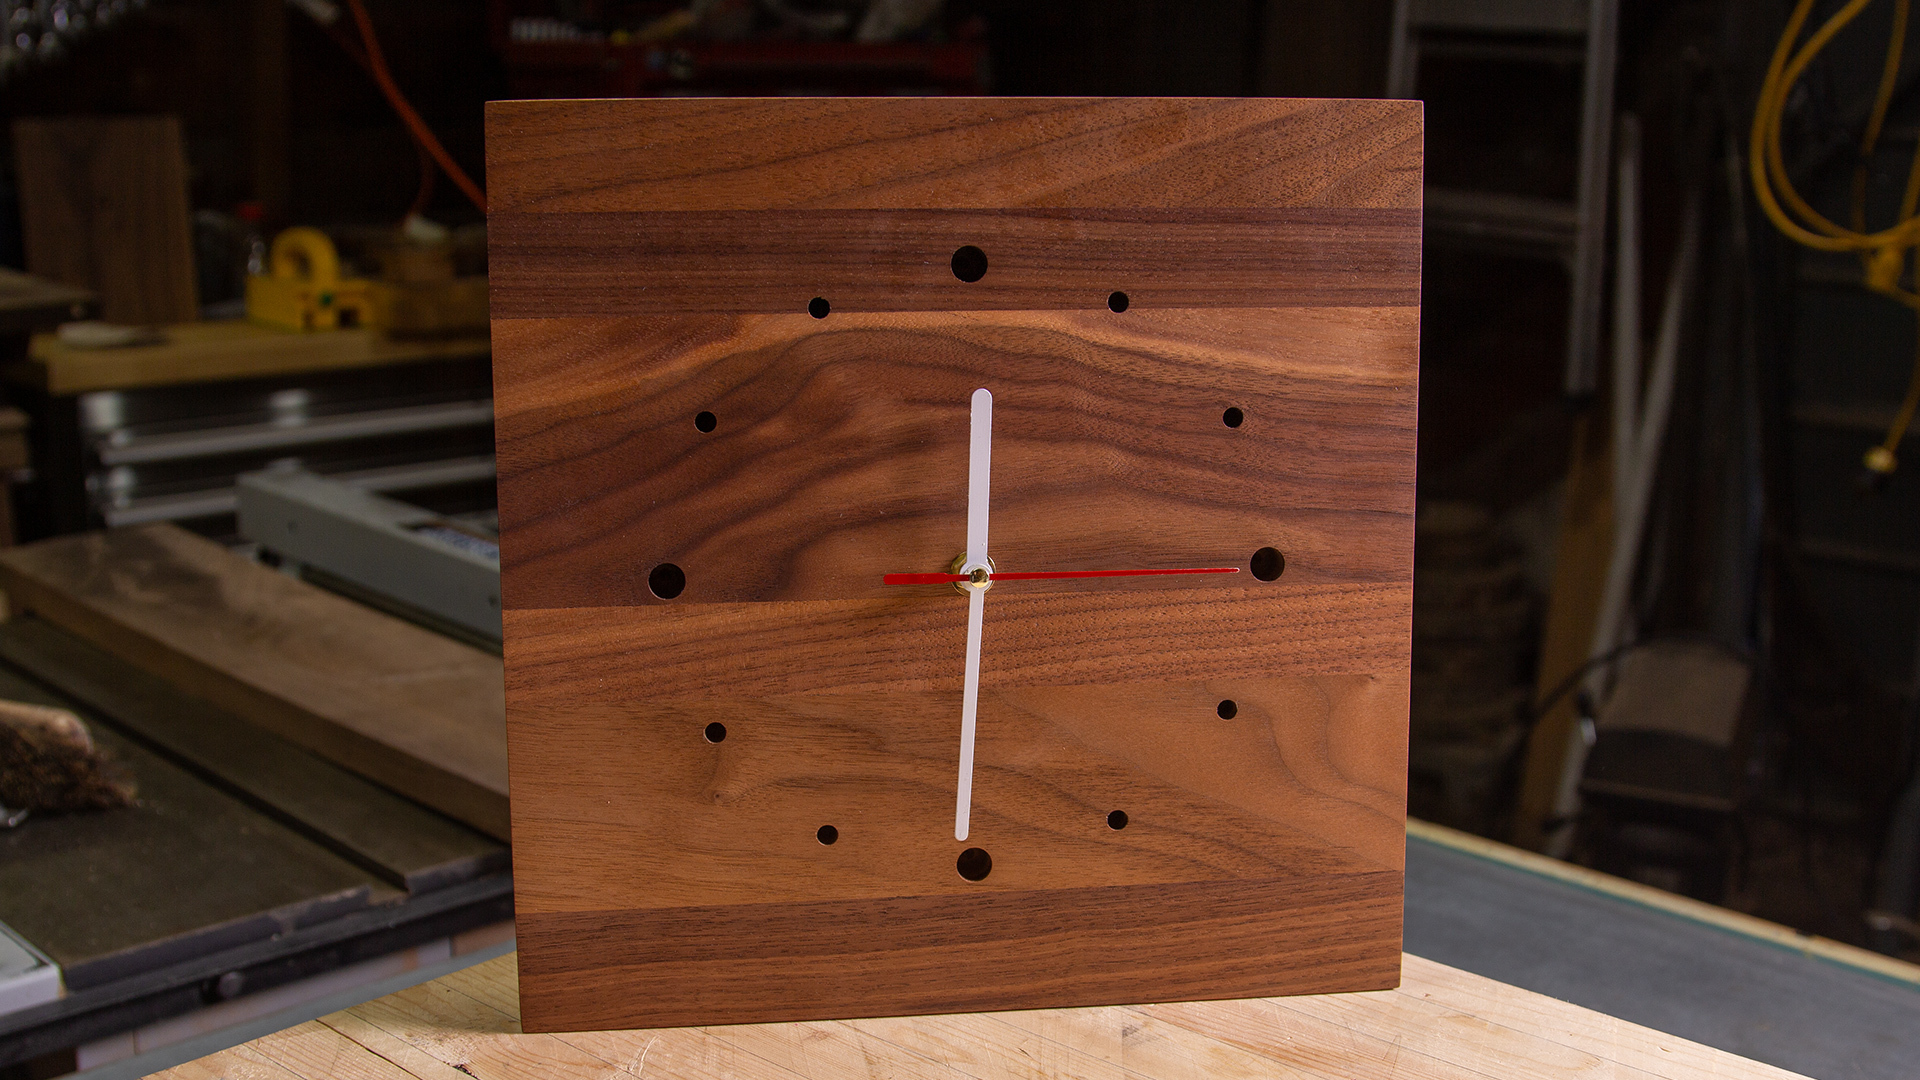
I thought it might be nice to make one that had actual time indications, and so I did.
I started off by gluing some scrap of walnut into a bigger slab.
I then cleaned up the edges on the table saw leaving some room for final dimensions later.
My clock arms were about 80mm long, giving me a diameter of 160mm. I added enough space around that diameter until I thought it looked good.
I marked my center line and found where I would place the hole, It should be noted that I am working on the backside of the clock for now.
Once I had the center point marked I took my template which was large enough to fit the clock movement inside of, in my case that was around 60mm. I cut a square in some think plywood and marked the center points around the edges so that I could align that on my clock.
I then took the Walnut block over to the Drill Press and set the depth stop so that I would have about 7mm of wood left before drilling all the way through.
This hole needs to be large enough to fit a router bit for the next step, I think I used a 1” Forstner bit.
After applying some double-sided tape to the back of the clock I aligned by the template and began to route the material away.
I used a ½” flush-trim bit with the bearing on the top.
I took slow shallow passes working in a clockwise direction, but pay attention to the wood grain direction and the rotation of your router bit. Make sure that the chips are not getting clogging up in the hole. If you need, stop and take the time to clean the cavity out.
After the hole was completed I used the center point from the Forstner bit and drilled a 5/16ths hole for the movement to fit through.
At this point, I was ready to add some “style” so I cut the left, right, and top edges at 15 degrees and the bottom at 5 degrees. I thought the clock looked neat sitting back a little bit.
The angles on the side make the clock appear a bit less chunky.
It’s now time to drill the holes that will indicate time.
If you were going to hang this on the wall then I would cut all sides at 15 Degrees then drill a hole near the top of the clock so that you could hang it.
I sanded the clock all the way up to 400 grid and then applied a couple of coats of Tung oil.
Inserted the clock movement and attached the arms.
I hope you enjoyed this one, and please if you haven’t already, please like and subscribe 😁


