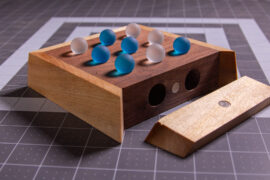
A while back I had built a mid-century modern chess set to play with my son. This time around I completed the chessboard.
After thinking about it for a while, I realized that the best way to proceed was to simply create a walnut and maple cutting board. Buy gluing up strips of maple and walnut I was able to cut strips off of that and reassemble them into the classic chessboard pattern.
After some edge cleanup, I sanded all the way to 320 grid and then applied 2 coats of Tung oil!
Sizing
In terms of sizing, I went with a thickness that just felt right to me. I did, however, research the square size and learned that the chess pieces needed to be 75-80% of the surface. Working backward I ended up with squares that were 30mm meaning that my chess pieces were around 20mm.
Board Setup
On a correct setup board, the square in the lower right-hand corner is always white, making the queen’s position from white’s perspective (on her own color) fourth from the left. I was unaware of this while I set up the shots but was pointed out to me in a Reddit post.
I think I had the board upside down 😁
This was really fun and actually a very simple project to make.
One thing I wish that I had added is a border around the board. I knew I wanted a bevel but my table saw can’t cut deep enough to get the results that I wanted.
Don’t forget to check out Part 1 where I build an entire Mid Century Modern Chess Set.


